
Hubby Dearest had assisted me in the arduous process of repotting the 2 pots of ginger plants as their roots had been so badly congested within the existing pots that they were making their way up to the surface of the pots.

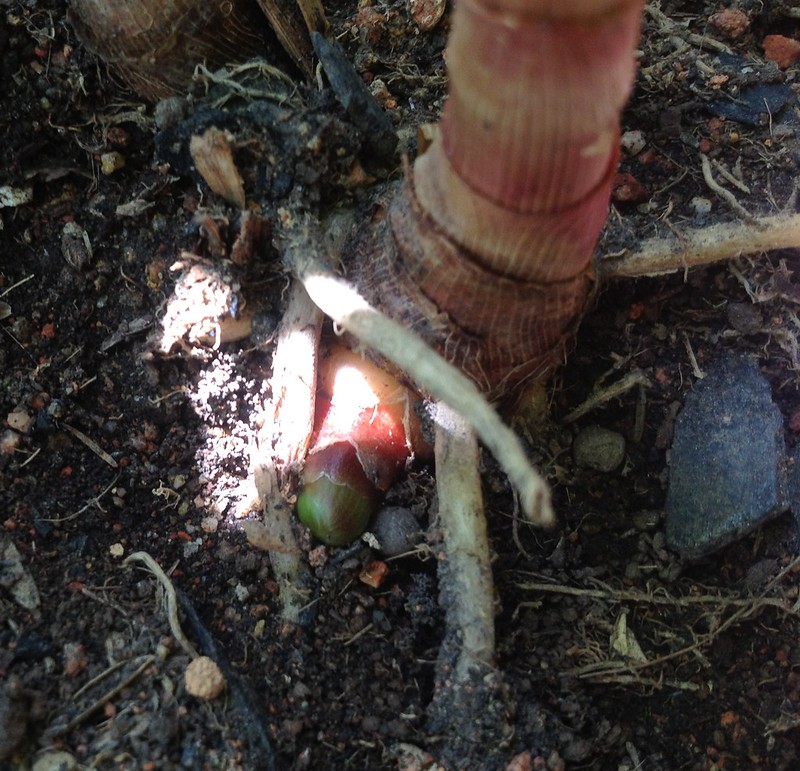
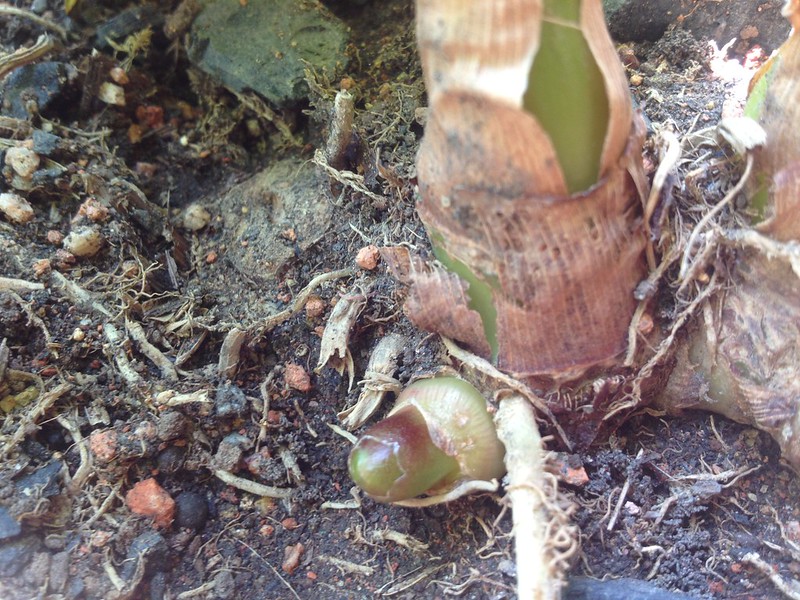
Stunted new growth coupled with congested roots is a sure sign that repotting is necessary.
We took more than half an hour to repot & clean up the mess.
Firstly, it was our first time repotting plants. We were faced with lot's of uncertainty but we still have to do it because the roots were showing up in an entangled mess at the surface of the pot.
Secondly, the plants weren't standing straight as they were already crooked & bent outwards at an angle to catch the sunlight. It was extremely tough to imagine not damaging any parts of the plants while repotting. And a challenge to figure out ways in minimising any possible damages, injuries on the plant.
It's a pity that we didn't manage to take any photographs of the root-bound base of the plants as we were too engrossed in ensuring that we were doing a good repotting of the plants.
Step 1:
We tried extracting the plants with its existing roots from the pot.
However, it was a tall order as the plants were already root-bound from the interior of the pot.
The plant & its existing soil were stuck fast inside the old flower pots which were made of plastic.
As such, my hubby broke the plastic pot by breaking it up in sections after pulling at its tapered rim. It was only then that we manage to free the plant with its existing roots & old soil from the old pot.
Step 2:
We cut out a section of green gauze such that it was large enough to be placed inside the flower pot at its base to
cover the holes.
This is to prevent the soil from being washed out of the flower pot when watering the plants in the morning.
Step 3:
After placing in the green gauze, gardening soil is then poured into the pot such that the new soil level (with the plant & its old soil) should fall a couple of inches below the rim of the new flower pot.
As we were filling in the sides of the pot with new gardening soil, we had given the pot a little shake on & off so as to allow the new soil to fall through the gaps. To ensure that there are no "air pockets", we had used a small spade to tuck in the new soil.
Step 4:
Once repotting is completed, we had watered the plants at the soil bed generously until water had trickled out from the bottom of the new flower pots. This is an indication that the plant already had a sufficient intake of water.
We are keeping our fingers crossed that they would work out well in their new homes!
No comments:
Post a Comment