Saturday, December 31, 2011

Wednesday, December 21, 2011

IJO Organic Fertiliser (gray pellet form)

Of late, I require a replenishing of this organic fertiliser after the repotting process but realised that I couldn't find the product at Giant (Tampines) & other supermarkets such as NTUC Fairprice.

Although my plants had been overfertilised & didn't require fertilisers for now, I swore by IJO's organic fertiliser becox they worked wonders on my plants & they do promote healthy green leaves spotting fattish stems.

A photograph of IJO's organic fertiliser:


I was relieved that I didn't discard the empty satchet as the contact details of IJO Corporation was printed on the back (of the satchet).

So for you folks who are still interested in purchasing IJO's organic fertiliser, please contact the company directly to obtain details of where you could purchase the fertiliser from:

IJO Corporation Pte Ltd
3018 Bedok North Street 5
#06-49 Eastlink
Singapore 486132

tel: 6-447-8867

(email address: enquiry@ijocorp.com)

I was told by this manufacturer that IJO meant "It's Just Organic" in short. My verdict for this organic fertiliser is that it's a great product for nurseries & plant lovers.

Post-script:    It's sad to learn that this range of organic fertiliser has been discontinued & has been replaced by a new range of organic worm tea.  Although I had been informed by nurseries that the worm tea product has its regular buyers, it is most unfortunate that it didn't work out for my plants.  On the contrary, it killed off my poor plants eventually, promoting diseases & pests.

If you are interested in learning about the latest development of what detrimental effects it had on my ginger plants, please stay tuned to this blog!  Thank You!

Tuesday, December 20, 2011

The Story of My "tree" Musketeers - The morning after ...

Further to showing photographs of the buds in my preceding posts, I've taken photographs showing the buds in full bloom the following morning.

Please refer to these latest photographs showing the buds in full bloom:


Monday, December 19, 2011

The Story of My "tree" Musketeers - A torrent of rainfall

The weather has been extremely erratic for the past 1 to 2 months. And today, there were sudden bouts of heavy rain that poured down mercilessly throughout the day. It was sunny one moment & before we knew it, huge sheets of rainwater came pouring down on pedestrians.

I was extremely concerned with my poor "ginger" plants becox a heavy downpour throughout the day could prove to be detrimental when they had been taking in too much water. The poor plants definitely couldn't afford another blow when it had previously been overfertillised!

By the time we reached home in the evening, we were pleasantly surprised to see so many new flower buds being pushed out of the "scales" of the red "corns". I supposed the sunbirds who visit our plants every day would be most delighted with the outcome when the buds would be fully bloomed by tomorrow morning. It would mean food for them as they live on flower nectar.

Here comes the Group category of photographs taken during the night after a heavy rain throughout the entire day:


As the lighting is poor in the evening, these shots were taken with flashlight from my camera ... We sincerely hope that they would be a feast to your eyes!


Portraits of the plants (The Individual Category) :

I've decided to categorised these photographs under Group photos & Portraits otherwise, they might just come across as messy.


To end off this blogging entry for the day, we've decided to take a snapshot of a new addition to the "ginger" family. I felt that it looked really cute!


Wednesday, December 14, 2011

The Story of My "tree" musketeers - The stage of Adolescence

The newbies had started showing signs of entering the stage of adolescence.


A candid photograph of a new shoot growing tall & sturdy with a newly-grown out leaf that's waxy-looking:

Monday, December 12, 2011

The Story of My "tree" musketeers - Still Blooming ...

Much to our surprise, even though the plants had been overfertilised, it started blooming abruptly ...

However, you could see from the photographs that the red "corns" don't look healthy.  I wondered if they are blooming themselves to "death" with whatever last spurts of energy they've conserved in those plants. :(

We'll just have to wait & see what happens later on ...


Thursday, December 8, 2011

Killing my plants with Kindness : Over-fertilising my plants *SOB*

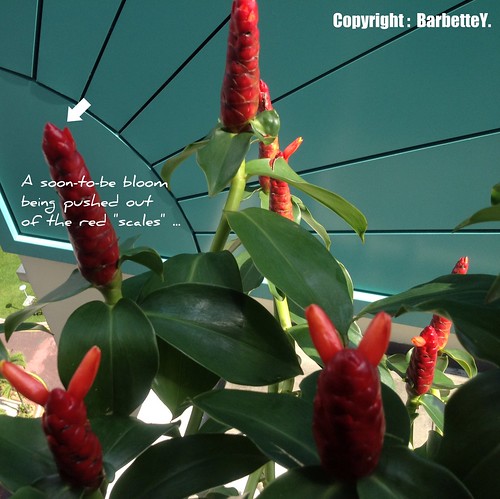
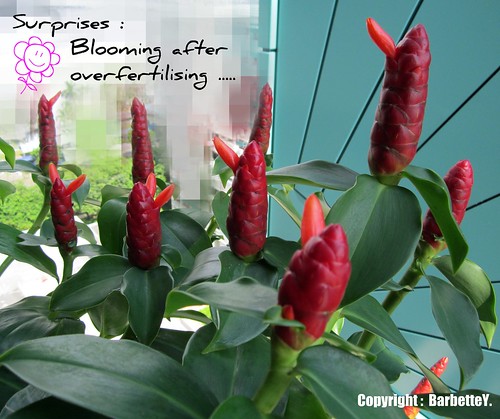
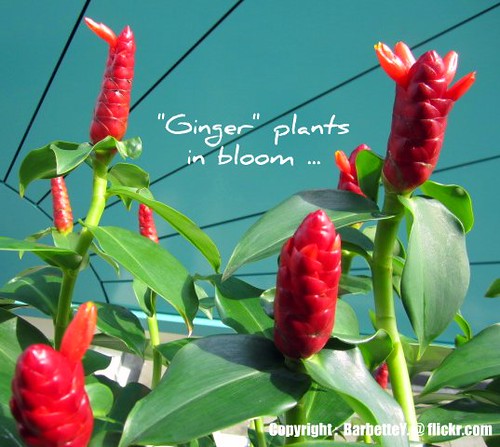
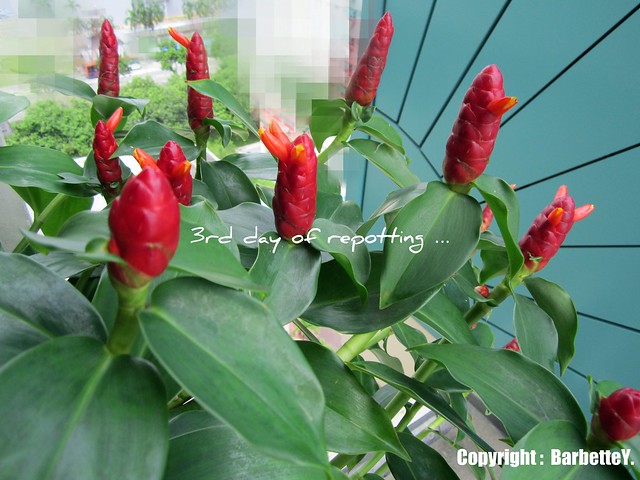
I was overcome by a strong sense of greed. Even after the plants were blooming so beautifully.

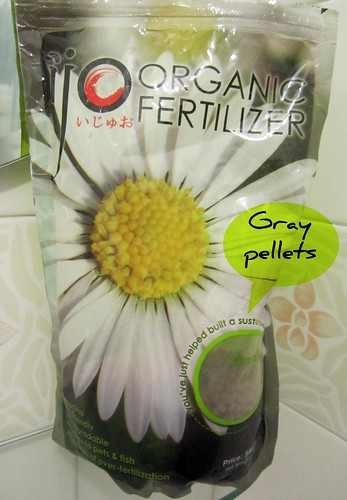
A silly idea strike me & I thought that since the plants had been flowering so vigorously, I should be replenishing their vitamins by fertilising.

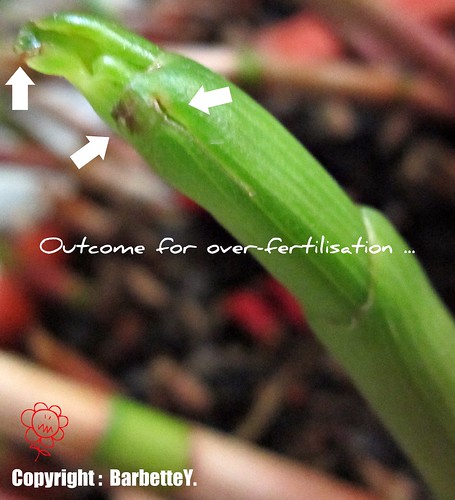
However, I was so greedy that I tripled the dose of fertiliser. Instead of the usual 10-15 drops of fertiliser diluted in 1 litre of water, I've decided to pour in 30 over drops...

The outcome was a disaster!

By the time I came back in the evening, I was shocked to notice that the over-fertilising had burnt off the anatomy of my poor plants!

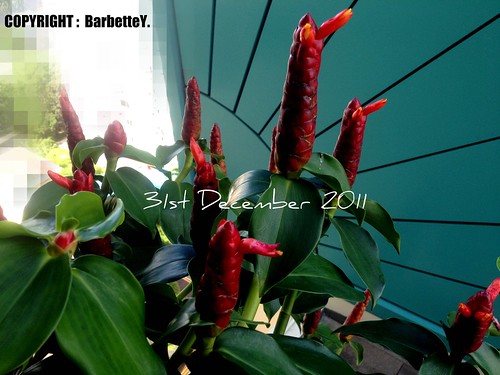
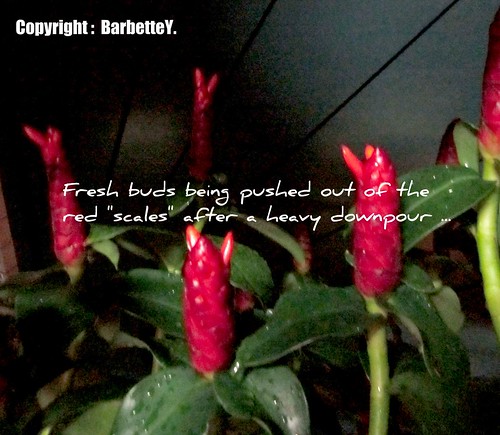
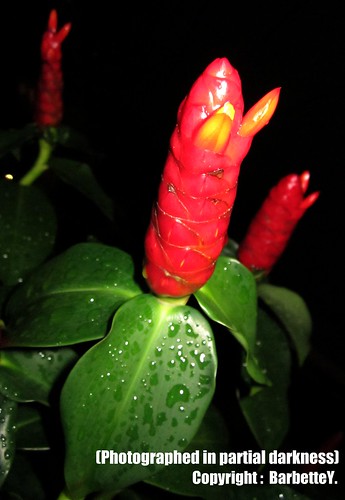
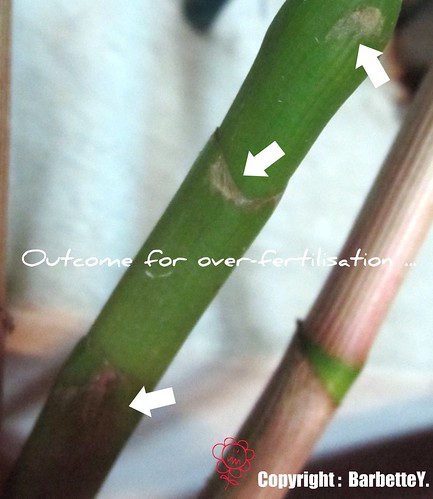
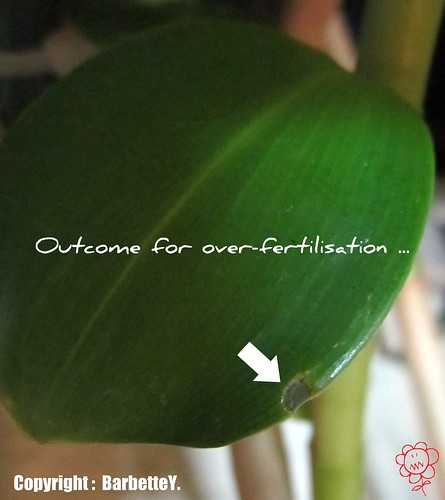
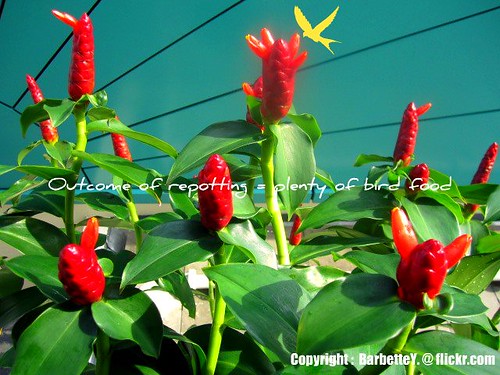
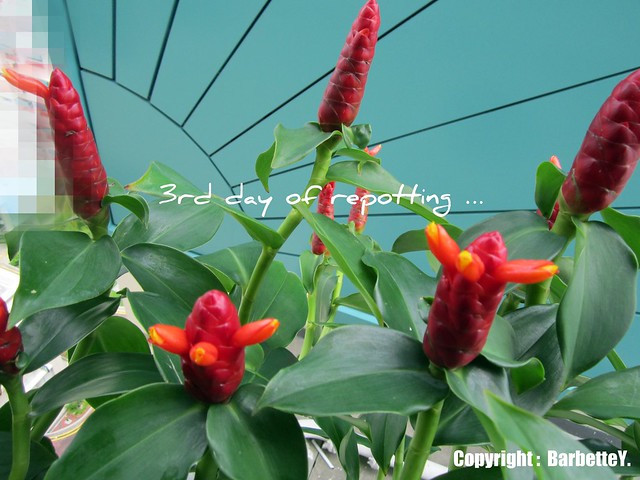
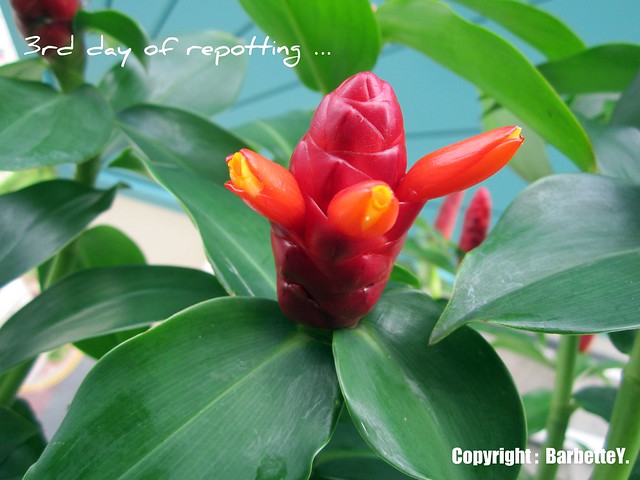
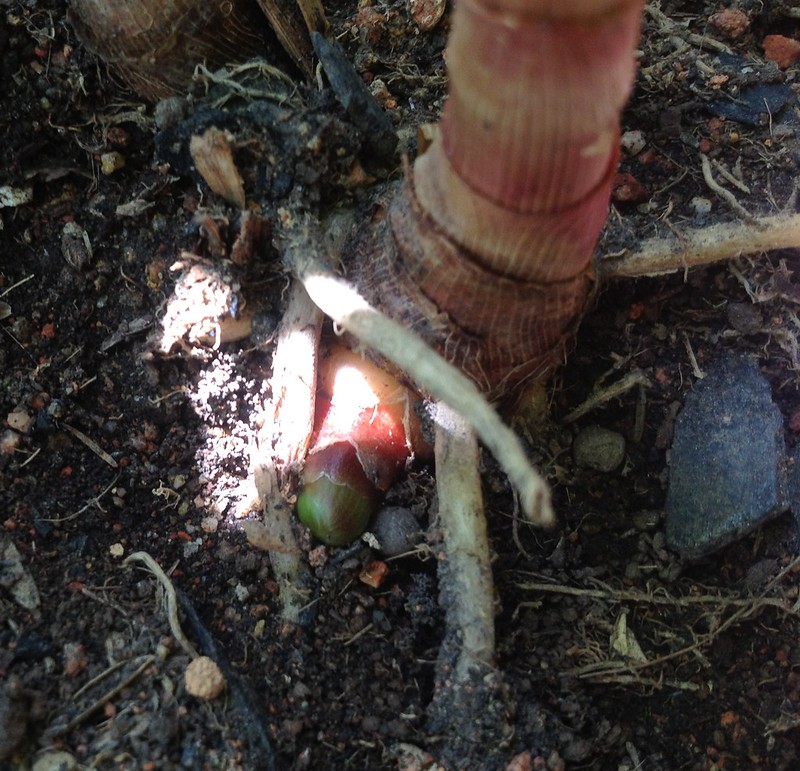
The photograph below shows evidence of over-fertilising of my plants. I have to stop feeding them any fertiliser for a long time from now... But hopefully their condition would stabilise & they wouldn't die on me.


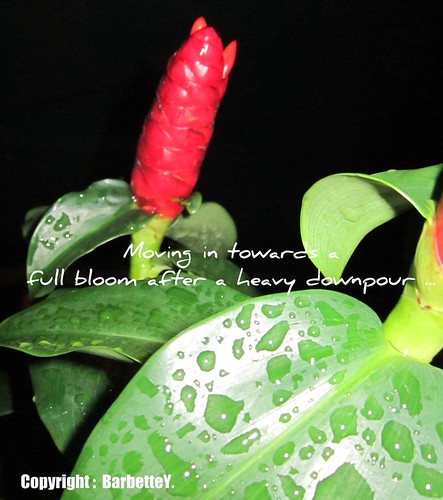
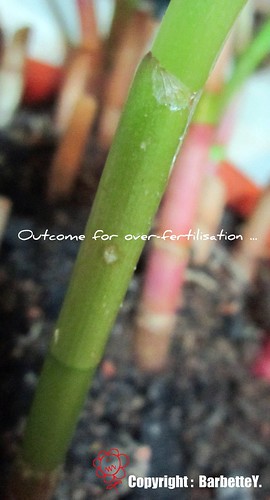
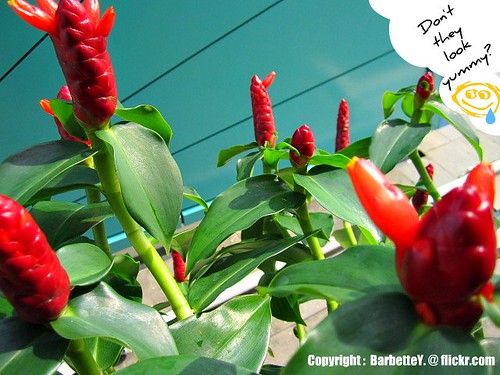
The condition of my ginger plants further deteoriated as the after effects of overfertilisation sunk in. And I think I had also overwatered the plants in a desperate attempt to flush out the excessive fertilisation.

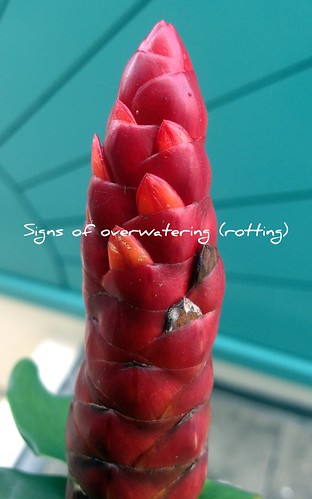
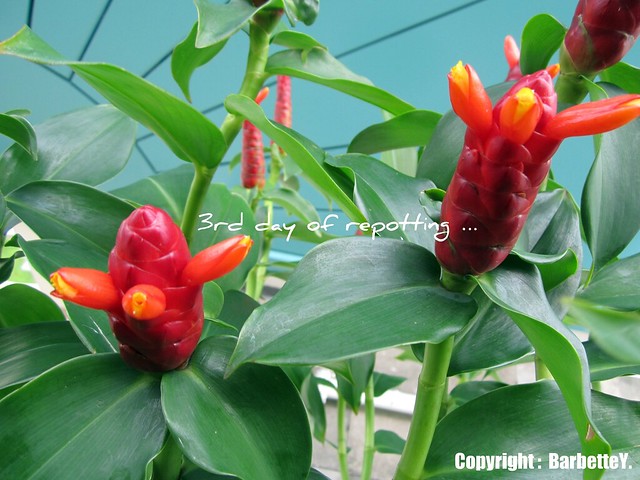
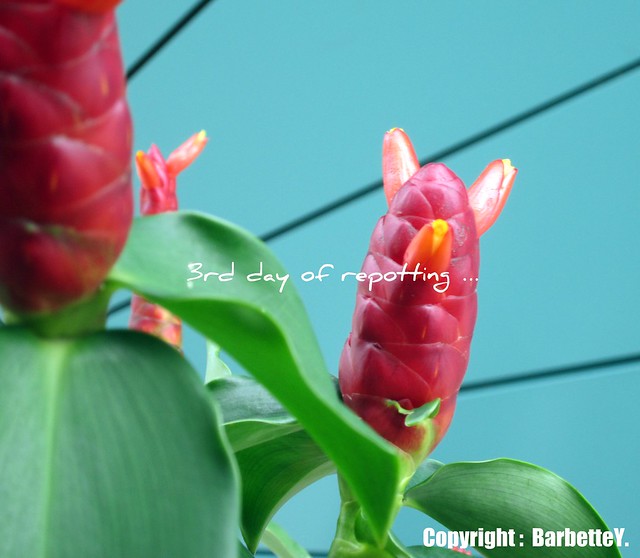
To make things worse, the rainy weather meant that the plants had been "over-drinking" water. As such, there were both burnt marks & rotting...

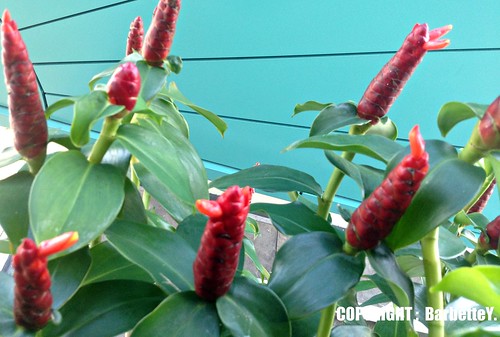
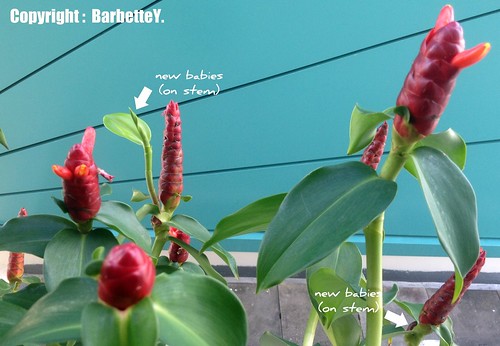
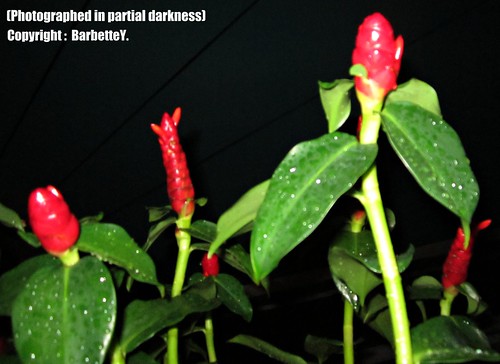
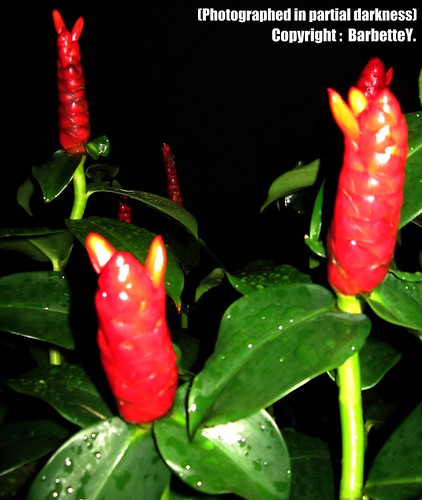
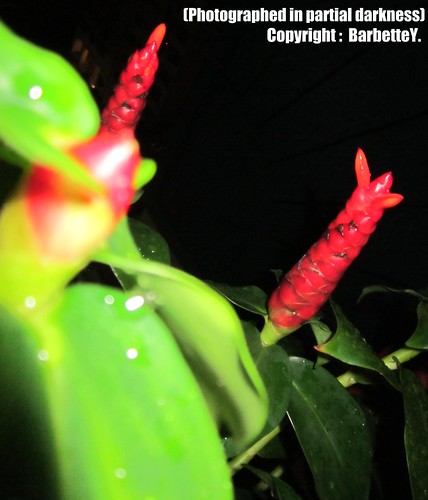
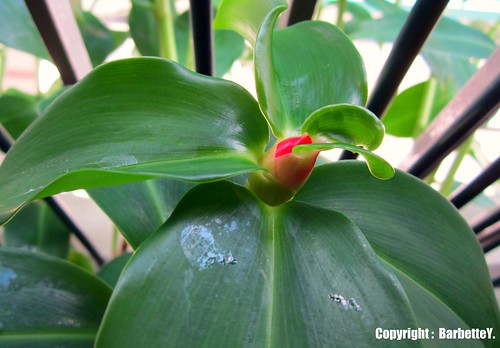
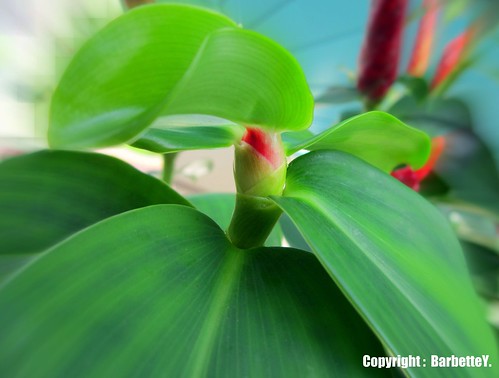
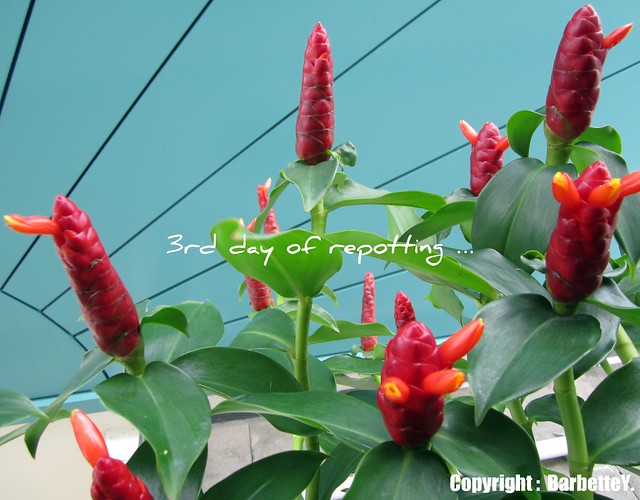
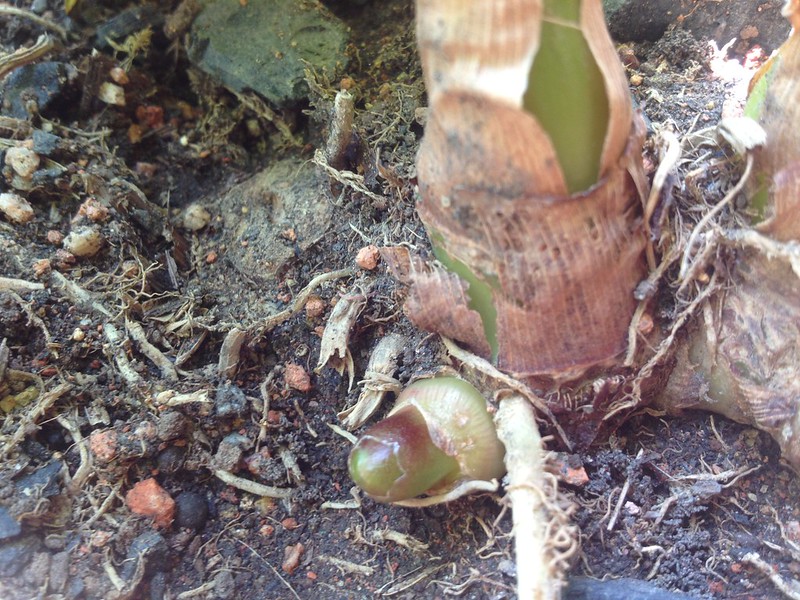
More photographs of the outcome of over-watering & over-fertilisation:


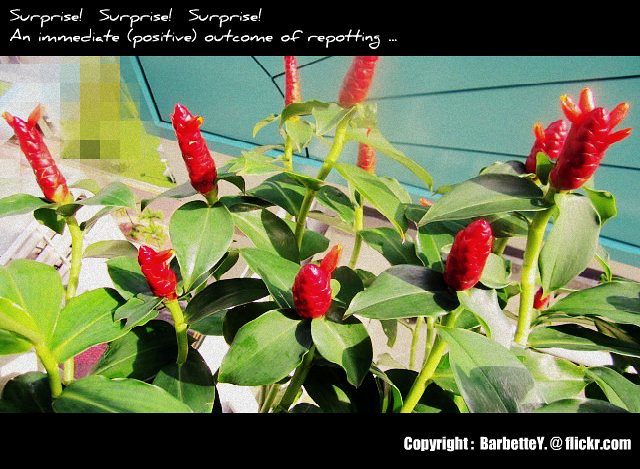
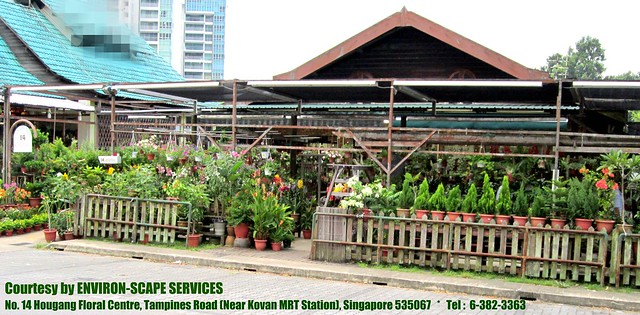
Advice from the nursery: To sit back & wait for the effects of the fertilsation to wear off on its own.

Monday, December 5, 2011

The story of my "Tree" musketeers - Outcome of repotting

I'm so sorry for the repetition of photographs in this section. However, it's a pity if I do not share these pics because the outcome of the repotting for these "Ginger" plants are best encapsulated in them (photographs).

Please bear with these repetitions but I didn't know which photograph to select so I had decided to launch all of them.

This is how my plant is faring on Day 2 of the repotting...

The outcome was wonderful & it was a magnificent sight to behold when we were greeted by such a huge surprise in the morning: the plants were blooming just 1 day after the repotting!


In fact, we were very surprised to see blooming in progress during the night after repotting in the morning. It is also a sure sign that the plants love their new homes now that they were being migrated into a larger flower pot.

We had been repeatedly greeted by the sharp chirpings of the plants' happy "beneficiaries" throughout the day, except when there's a heavy downpour. The olive-backed sunbirds were feverish with excitement at the sight of plenty bird food (i.e. flower nectar) and there's indeed plenty to go around.

There were fully bloomed buds & those that were still in transit when the flower bud-to-be had been pushed out of the red "scales" on the red "corn".


Photographs of Day 3 (of the repotting) - still going strong in flower-power with many new blooms


Sunday, December 4, 2011

Purchasing my gardening supplies ...

Eversince I started gardening, I had been obtaining my gardening supplies from the following nursery which had been reputed to be in business for a very long time:

The nursery is within walking distance (2-minute walk for fast strollers like myself) from Kovan MRT station & Heartland Kovan, located infront of the carpark (and across the wet market).
The gardening supplies I've bought from this nursery thus far includes gardening soil (of both organic & non-organic nature), water (pressure) sprayer, fertiliser, flower pots, plants, etc.

There's a huge variety of plants available for sale & I love the hibiscus plants, orchids which are evergreens that were found in their nursery. However much as I liked these plants, my flat has got limited access to the morning sun which is necessary for gardening.

So to date, I've not bought that many pots of plants from any nursery.

Saturday, December 3, 2011

The Story Of My "tree" Musketeers - Repotting Ginger plants

Hubby Dearest had assisted me in the arduous process of repotting the 2 pots of ginger plants as their roots had been so badly congested within the existing pots that they were making their way up to the surface of the pots.


Stunted new growth coupled with congested roots is a sure sign that repotting is necessary.

We took more than half an hour to repot & clean up the mess.
Firstly, it was our first time repotting plants. We were faced with lot's of uncertainty but we still have to do it because the roots were showing up in an entangled mess at the surface of the pot.

Secondly, the plants weren't standing straight as they were already crooked & bent outwards at an angle to catch the sunlight. It was extremely tough to imagine not damaging any parts of the plants while repotting. And a challenge to figure out ways in minimising any possible damages, injuries on the plant.

It's a pity that we didn't manage to take any photographs of the root-bound base of the plants as we were too engrossed in ensuring that we were doing a good repotting of the plants.

Step 1:
We tried extracting the plants with its existing roots from the pot.

However, it was a tall order as the plants were already root-bound from the interior of the pot.

The plant & its existing soil were stuck fast inside the old flower pots which were made of plastic.

As such, my hubby broke the plastic pot by breaking it up in sections after pulling at its tapered rim. It was only then that we manage to free the plant with its existing roots & old soil from the old pot.

Step 2:
We cut out a section of green gauze such that it was large enough to be placed inside the flower pot at its base to
cover the holes.

This is to prevent the soil from being washed out of the flower pot when watering the plants in the morning.

Step 3:
After placing in the green gauze, gardening soil is then poured into the pot such that the new soil level (with the plant & its old soil) should fall a couple of inches below the rim of the new flower pot.

As we were filling in the sides of the pot with new gardening soil, we had given the pot a little shake on & off so as to allow the new soil to fall through the gaps. To ensure that there are no "air pockets", we had used a small spade to tuck in the new soil.

Step 4:
Once repotting is completed, we had watered the plants at the soil bed generously until water had trickled out from the bottom of the new flower pots. This is an indication that the plant already had a sufficient intake of water.

We are keeping our fingers crossed that they would work out well in their new homes!